
Welcome to our comprehensive St Marys driving test routes guide, designed to help learner drivers master both the South Residential Grid and the North St Marys Industrial Circuits at the Service NSW testing centre.
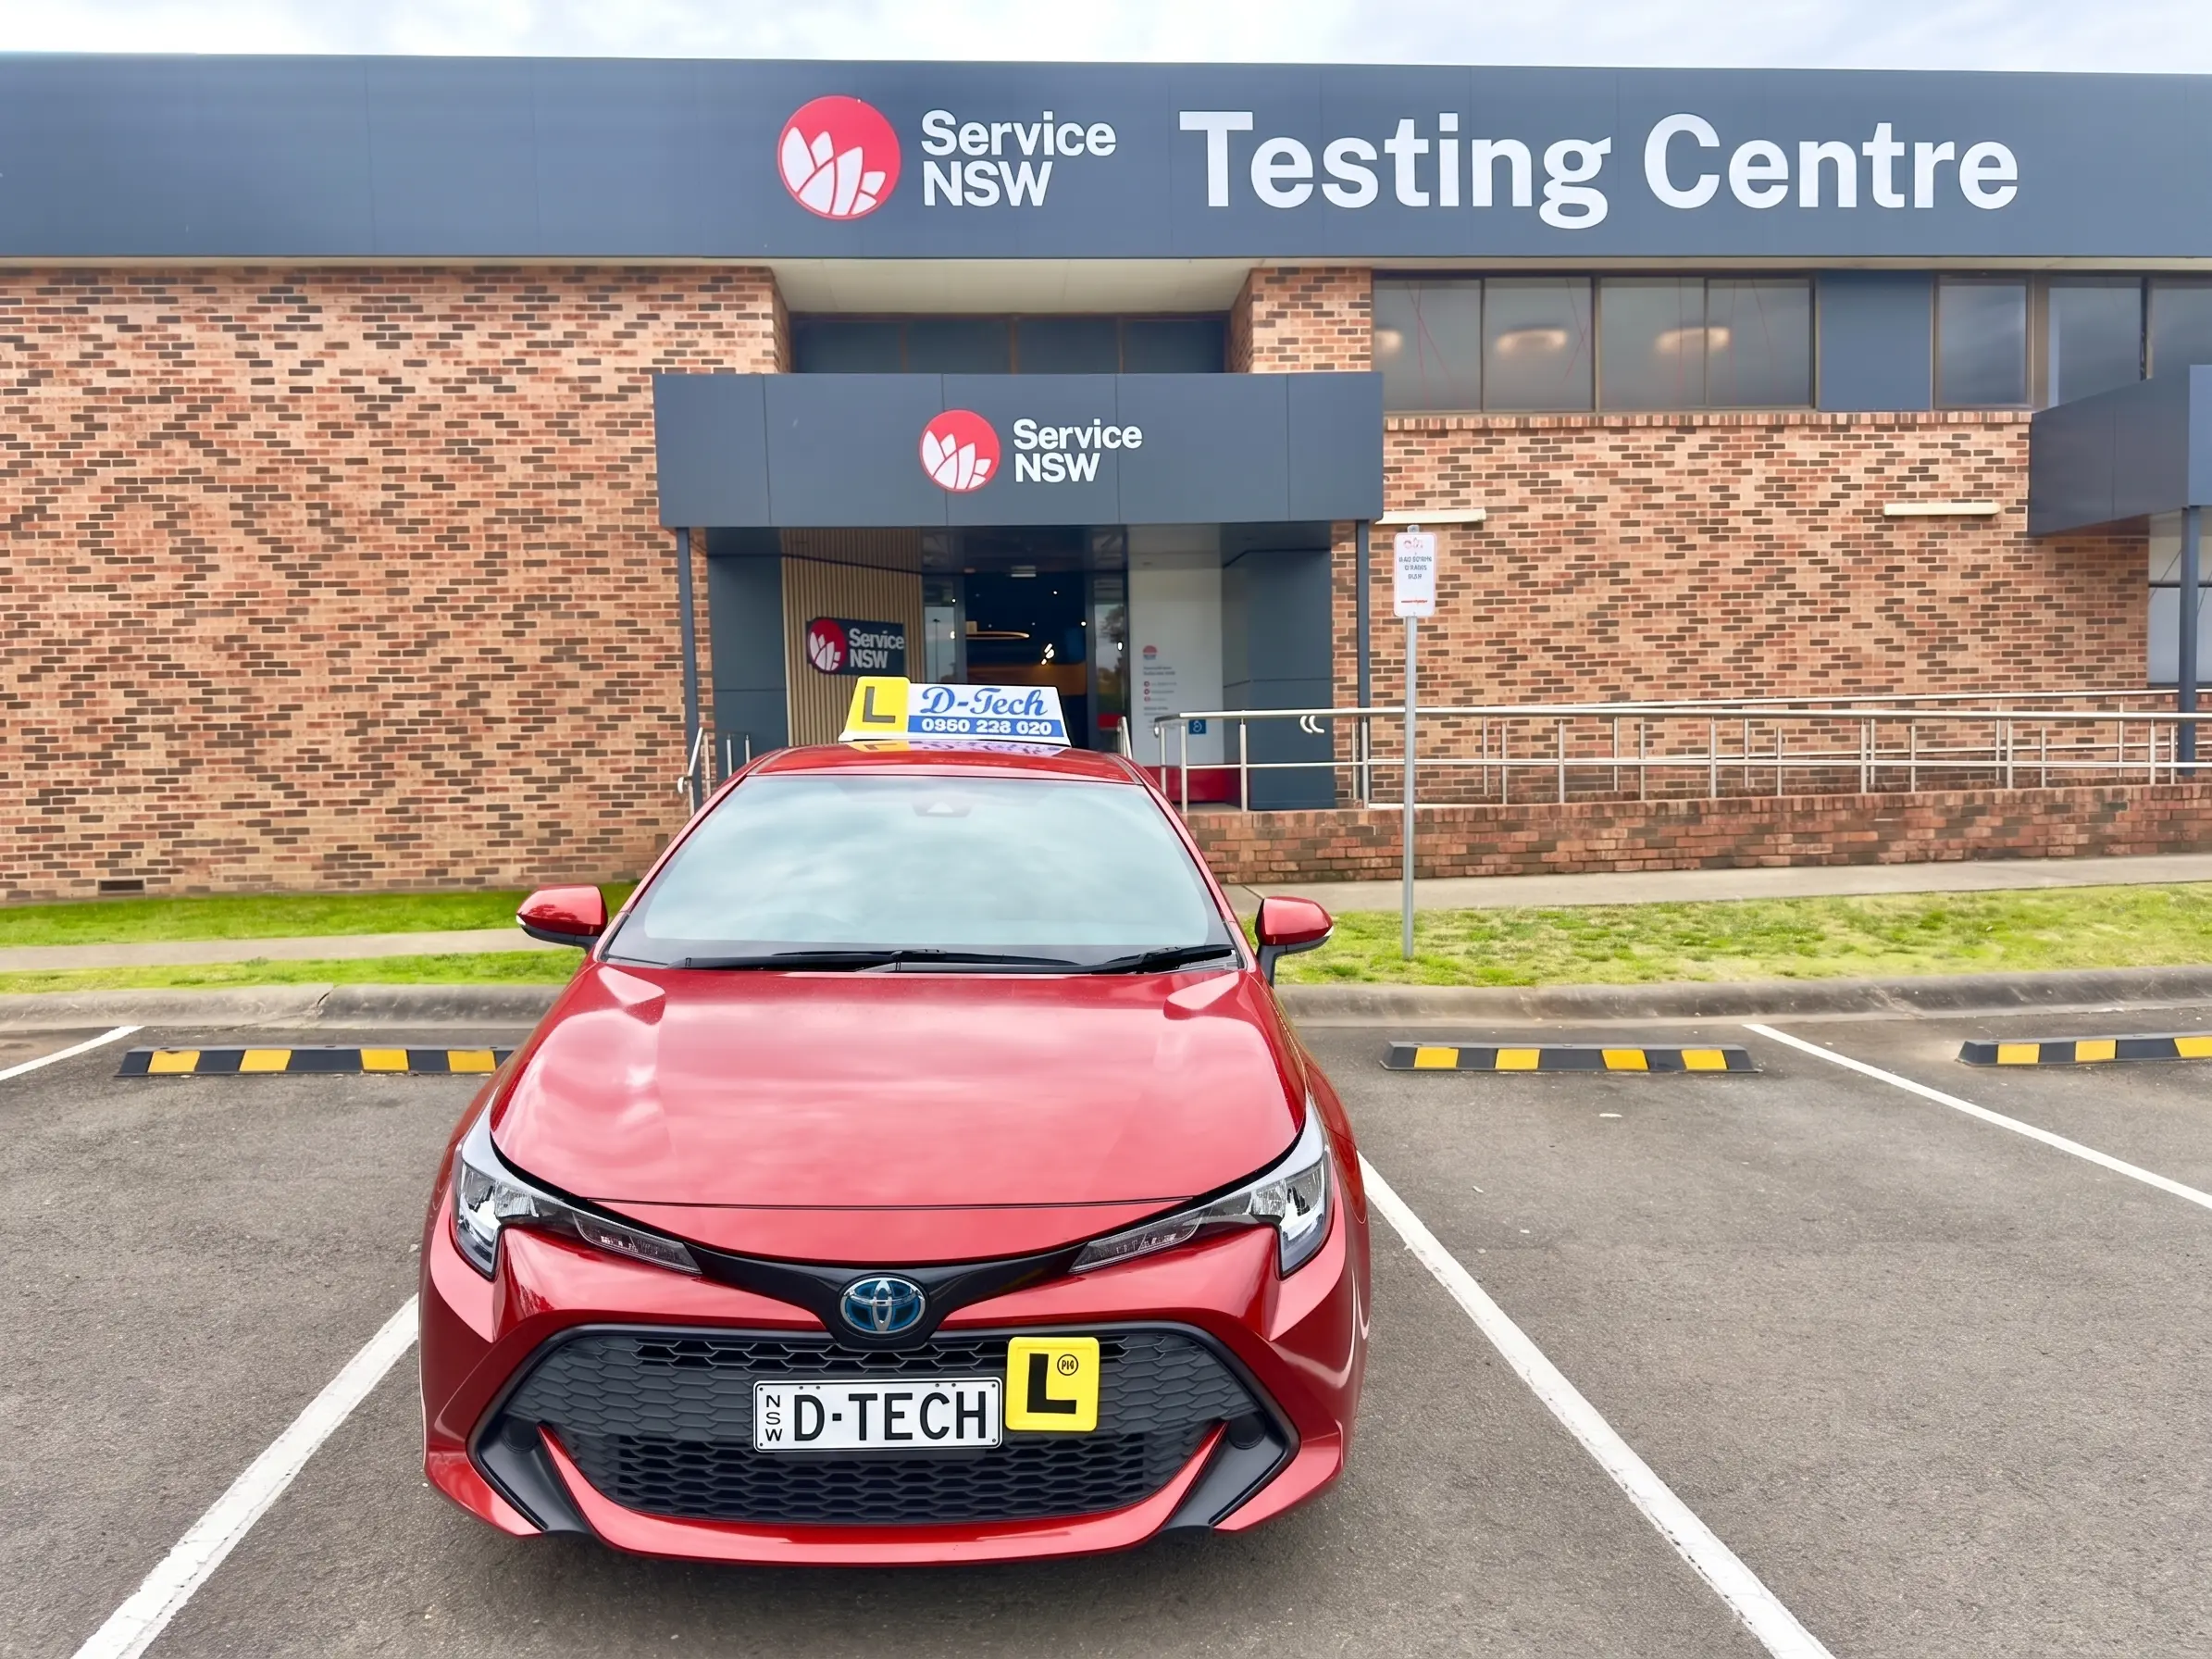
Table of Contents
- Overview & Service NSW Details
- St Marys Test Routes Comparison Matrix
- Route 1: Bennett Road, Carpenter Street & South Residential Grid
- Route 1 Video Guide (New Walkthrough)
- Route 2: Queen Street, Glossop Street & North St Marys Loop
- Route 2 Video Walkthrough (Full Video Guide)
- Manoeuvre Assessment Standards (3-Point Turn & Parking)
- Critical Hazard Alerts & Speed Traps
- Most Common St Marys Test Fail Locations
- Route Summary & Action Checklist
- What Our St Marys Applicants Say
- Book Your Test Preparation Package
Overview & Service NSW Details
The St Marys Service NSW testing registry connects high-flow multi-lane arterial corridors, railway station bus interchanges, dense residential streets, and strictly monitored school zones.
- Registry Location: 75–105 Mamre Road, St Marys NSW 2760 (adjacent to the St Marys Diggers Club precinct).
- Testing Area: Dedicated Service NSW Driver Testing parking bays directly in front of the main service entrance.
- Key Landmarks: St Marys Diggers Club, Our Lady of the Rosary Primary Church & School, St Marys Train Station & Bus Interchange, Queen Street Commercial Hub, Chifley College Dunheved Campus, and Great Western Highway (A44).
St Marys Test Routes Comparison Matrix
| Route Option | Primary Assessment Focus | Key Manoeuvre Zones | High-Risk Hazard Points |
|---|---|---|---|
| Route 1 (South / Bennett Rd) | Suburban clearances, arterial transitions & highway merging | Morris St, Monfarville St & Freeman St (3-Point Turn) | Parkin Rd double lines, Queen St reverse parkers & Bennett Rd lights |
| Route 2 (North St Marys Loop) | Multi-lane lane selection, railway crossings & industrial streets | Kurrajong Ave, Poplar St, Maple Rd & Boronia Rd | Glossop St railway bridge, Queen St station pedestrians & Mamre Rd speed camera |
Route 1: Bennett Road, Carpenter Street & South Residential Grid
Route 1 takes you east of Mamre Road through the residential grid of Mitchell, Monfarville, and Carpenter Streets before transitioning onto Bennett Road and returning via Queen Street.

Route 1 Step-by-Step Directions:
- Departure (Hall St to Mamre Rd): Perform your 6-point check, leave the bay under 10 km/h, turn left onto Hall Street, and yield before merging into the 60 km/h traffic flow on Mamre Road. Move into the right lane early.
- Residential Manoeuvre Grid (Mitchell & Morris): Turn right onto Mitchell Street (50 km/h). Maintain a 1-metre safety cushion from parked cars. Turn left onto Monfarville Street, then right onto Morris Street—a prime zone for Kerbside Stops and Reverse Parallel Parking.
- Parkin Road Loop (Three-Point Turn): Exit Morris Street onto Marsden Road, turn left onto Carpenter Street, and enter the single-lane roundabout. Turn right onto Parkin Road (keep speed under 40 km/h; do not cut double lines). Turn left onto Leonard Street. Examiners frequently use Freeman Street for the Three-Point Turn.
- Bennett Road & Highway Corridor: Turn right onto Bennett Road at the traffic lights (50 km/h). Turn left onto Great Western Highway (60 km/h), indicate right for 5 seconds, and take the left-most right-turn lane onto Glossop Street.
- Queen Street Commercial Return: Turn left onto Phillip Street, navigate past the station bus interchange, and turn left onto Queen Street. Cross the highway straight onto Mamre Road and return to Service NSW.


Route 1 Video Guide (Bennett Rd & South Residential Loop)
Our updated 2026 dashcam video guide for the Bennett Road, Carpenter Street, and Queen Street route is currently in production and will appear here shortly!
Route 2: Queen Street, Glossop Street & North St Marys Loop
Route 2 travels north directly along the Mamre Road and Queen Street arterial spine, crosses the railway bridge into North St Marys, and navigates the quiet residential network surrounding Poplar Street, Maple Road, and Chifley College Dunheved.

Route 2 Detailed Step-by-Step Breakdown:
- 1. Pre-Drive & Vehicle Check: Reverse park on arrival into testing bays. The testing officer inspects indicators, brake lights, horn, and tyres. Remember: the Class C marking sheet evaluation starts before you turn the ignition.
- 2. Hall Street to Mamre Road: Exit at walking pace (< 10 km/h). Turn left onto Hall Street. At the Mamre Road intersection opposite McDonald's, scan for pedestrians and turn only on a clean green light or green arrow into the 60 km/h flow.
- 3. School Zone Watch (Our Lady of the Rosary): If driving during 8:30 AM–9:30 AM or 2:00 PM–3:30 PM, strictly maintain speeds under 40 km/h as you cross near the primary school.
- 4. Queen Street 40 km/h Pedestrian Strip: Continue straight over the Great Western Highway into the Queen Street 40 km/h commercial precinct. Actively scan for opening car doors, crossing pedestrians near St Marys Library, S2 Dental, Jesters Takeaways, and Commonwealth Bank.
- 5. Infrastructure Hub & Metro Interchange: Watch for high-density foot traffic around Chemist Warehouse, Princess Nish's Kitchen, and Easy Script Pharmacy. Approaching St Marys Station and the Phillip Street Metro construction site, take the tight mini-roundabout slowly and scan continuously.
- 6. Phillip Street to Glossop Street Multi-Lane Turn: Turning left from Phillip Street onto Glossop Street is a major test trap. Both local lanes turn left while the far-right lane turns right. Enter your designated target lane smoothly without drifting across lane lines.
- 7. Northern Manoeuvre Sector (Kurrajong Ave & Poplar St): Cross the railway overpass along Glossop Street and turn right onto Kurrajong Avenue (50 km/h). Turn left onto Poplar Street, right onto Debrincat Avenue, and join the traffic stream near St Marys North Public School.
- 8. Quiet Manoeuvre Streets (Maple, Jackaranda & Boronia): Drive through Maple Road, Jackaranda Road, Magnolia Street, and Boronia Road near the Chifley College Dunheved campus and Robyn Wiles Park. Examiners frequently request Kerbside Stops, Reverse Parallel Parking, or Three-Point Turns here. Always come to a complete, motionless stop at STOP signs.
- 9. Highway Return & Lane Changing: Rejoin Glossop Street, turn right onto the Great Western Highway, and execute a safe lane change into the far-left lane after checking your centre mirror, side mirror, and left blind spot.
- 10. Mamre Road Red-Light Speed Camera: Turn left onto Mamre Road. The fixed red-light speed camera near the church and school is strictly enforced. Maintain a safe speed buffer below the limit, stop behind the solid white line on amber/red, and turn left onto Hall Street to conclude your test.


Route 2 Video Walkthrough (Full Video Guide)
Watch our comprehensive video walkthrough for Route 2 covering the entire Queen Street corridor, station interchange, Glossop Street railway overpass, and North St Marys residential loops:
Manoeuvre Assessment Standards (3-Point Turn & Parking)
Examiners will assess at least one low-speed control manoeuvre during your test. Follow these step-by-step assessment routines to secure full marks:
1. Three-Point Turn Execution (Freeman St / Poplar St / Boronia Rd)
- Pulling Over: Signal left for at least 5 seconds, check interior/left mirrors and your shoulder blind spot, and stop parallel within 20–40 cm of the kerb.
- Scan & Signal: Indicate right for at least 3 seconds, select Drive, and complete a 360-degree safety scan.
- Point 1 (Forward): Move forward at a walking pace while steering smoothly to full right lock. Stop half a metre before the opposite kerb.
- Point 2 (Reverse): Select Reverse, complete a full 360 scan looking over both shoulders, and reverse while steering firmly to full left lock.
- Point 3 (Drive Away): Select Drive, check traffic in both directions, straighten up in the left lane, and accelerate smoothly.
2. Kerbside Stop & Reverse Parallel Parking
- 5-Second Rule: Always indicate for 5 full seconds before pulling in to the kerb AND for 5 full seconds before pulling away into traffic.
- Exaggerated Head Checks: Check your shoulder blind spots physically by moving your chin to your shoulder before moving the vehicle laterally.
- Correct Distance: Finish aligned parallel between 20 cm and 40 cm from the kerb, leaving at least 1 metre from adjacent vehicles.
Critical Hazard Alerts & Speed Traps
Passing Our Lady of the Rosary Primary Church and School on Mamre Road, you enter an active 40 km/h school zone monitored by a fixed red-light speed camera. Maintain strict speed compliance (under 40 km/h during school hours) and stop fully behind the solid white stop line on yellow/red signals.
If a car ahead is reverse parallel parking along Queen Street, do not attempt to swerve around it into oncoming traffic. Stop smoothly and wait. Overtaking here is an instant test failure under Fail Item 7: Action Resulting in a Dangerous Situation.
When turning right from the Great Western Highway into Glossop Street, choose the left-most right-turn bay. This positions you automatically into the correct left lane on Glossop Street, preventing an unnecessary lane change before Phillip Street.
Most Common St Marys Test Fail Locations
| Location | Critical Hazard | How to Avoid Failing |
|---|---|---|
| Queen St & Station Precinct | High-density pedestrian crossings & bus bays | Cover your brake, approach slowly, and yield completely to pedestrians waiting or crossing. |
| Mamre Rd (Our Lady of the Rosary) | 40 km/h school zone & red-light speed camera | Monitor speedometer constantly; come to a complete stop behind the stop line. |
| Parkin Rd & Leonard St | Narrow streets & continuous double lines | Keep speed well under 40 km/h; take wide square turns without touching lines. |
| Queen Street Commercial Strip | Vehicles reversing into kerbside bays | Never overtake into opposing traffic; stop and wait patiently. |
| Service NSW Car Park | Pedestrian foot-traffic & moving test cars | Drive under 10 km/h, perform a 360 scan, and reverse park upon arrival. |
Route Summary & Action Checklist
- Reverse park into the Service NSW testing bay upon arrival.
- Perform an exaggerated physical 360-degree head check before moving off from any kerb or bay.
- Signal for at least 5 seconds before pulling over or moving off from the kerb.
- Signal for at least 30 metres before turning at intersections or changing lanes.
- Maintain at least a 1-metre safety cushion from all parked vehicles.
- Strictly obey the 40 km/h school zone speed limit on Mamre Road.
- Never cut across continuous double unbroken lines on tight suburban corners.
What Our St Marys Test Applicants Say (5.0 ⭐⭐⭐⭐⭐)
See how other local learners passed their practical driving test on the first attempt using our St Marys route guides:


Book Your Test Preparation Package
Mastering the St Marys driving test routes takes practice, correct road habits, and examiner-level preparation.
At D-Tech Driver Training, we offer comprehensive Driving Test Preparation & Car Hire Packages including direct pickup, a 1-hour pre-test route warm-up, and certified dual-control vehicle hire.
Ready to pass your test on the first attempt?
📞 Call/Text: 0468 525 626